Our Tips for Planning The Very Best Winter Vacations for Snow Seekers
Up until very recently, my kids had never seen snow. That might sound weird to people in many parts of the world, but it’s actually fairly common for Florida natives.
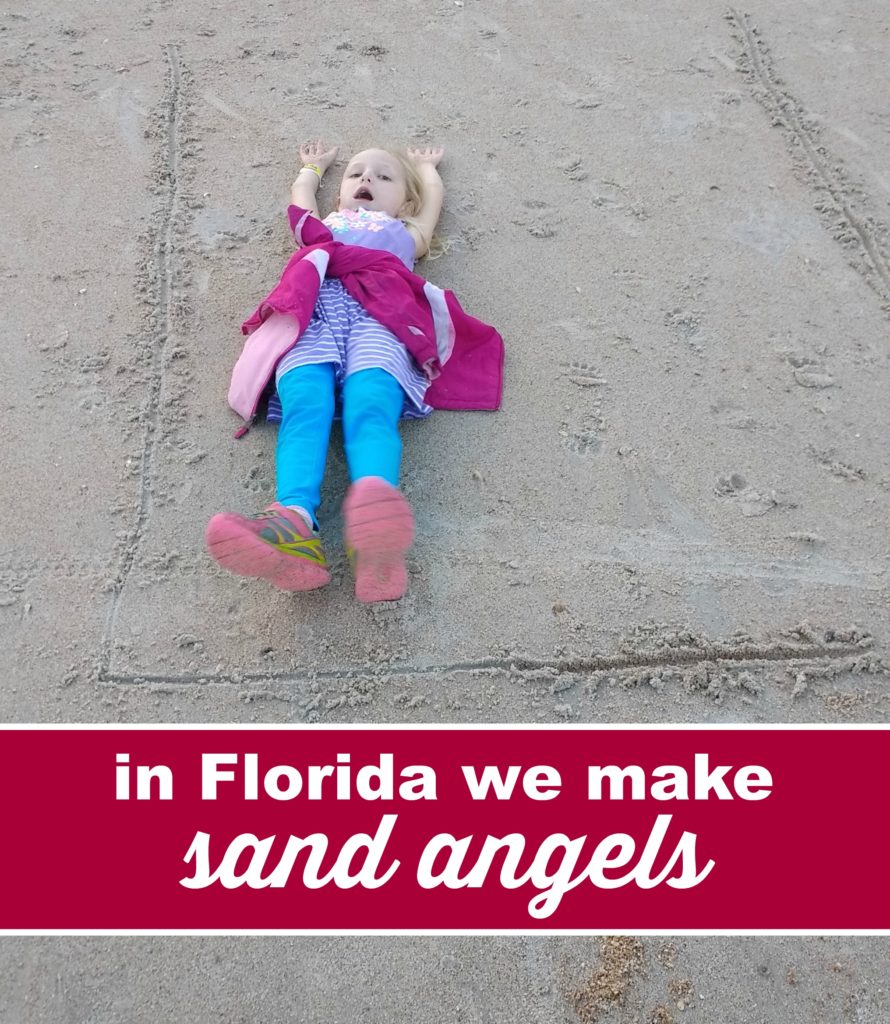
Sharon and I were both born up north, and we’ve both lived & traveled throughout North America. So while we didn’t grow up dreaming of white Christmases, we’d at least had the chance to play in the snow. But for my daughters, the closest they’d come to snow was a big machine that spit ground up ice into a giant, slippery mound. And they assured us that this did NOT count.
For the last few years, we’ve talked about taking the kids somewhere to see snow. Sounds simple enough, right? But it was trickier than you might think. Taking a trip to see your first snow is totally doable, but it takes a good bit of planning.
Here’s what we learned while planning our snow vacation. Some of this might seem obvious, but remember – if you live in a place where 50 degrees is considered “freezing,” most of this isn’t the type of stuff you’d normally have to think about.
I should also note that we wanted to stick to a pretty modest budget. So even though a ski trip would have been the simplest to plan, our bank account objected.
Tip #1: It’s Not Snowing Everywhere Besides Florida
A lot of us Florida folks tend to equate winter with snow. It’s 28 degrees, so obviously it’s snowing where you are, right?
Not exactly.
There are a lot of complicated meteorological & geographic factors at play when it comes to winter weather. I don’t know what they are. I just know that you can’t assume that it’s going to be snowing somewhere. This makes advance planning a bit tricky.
Southeastern US
We live in North Florida, and it does snow sometimes in places that are driving distance from us. Sometimes is the key here. Sometimes it snows in Georgia and the Carolinas. Sometimes the snow even sticks around for more than a few hours. So we considered the option of waiting until snow was in the forecast and then taking a road trip a few hours north.
But then what? Drive north until we see snow? Pull over to the side of the road, make a few snowballs, and then head back home? That hardly seemed worth it. Also, I wasn’t thrilled at the idea of driving toward cities that essentially shut down after a few inches of snow. Would we even be able to find a hotel? Would there be electricity? Would the roads be safe?
Even though a road trip would have been the most budget-friendly option, there were just too many unknowns, and too many things that could go wrong. So we decided instead to look at flights up north.
New York
We have a lot of family in New York, and we’d been wanting to bring the kids there for a long time. And what better time to visit New York City than Christmas time? You’ve got the Christmas tree in Rockefeller Center, ice skating in Central Park, the Rockettes at Radio City Music Hall…
…but there’s also the crowds, the high prices, the challenge of coordinating transportation…
And there’s also the fact that snow in NY is very hit or miss. Meaning we could plan a whole family vacation, spend a ton of money getting there, and still not see a single snowflake.
Colorado
If we were looking for a sure thing, Colorado seemed like our best option. Sharon has a friend in Colorado Springs, and we were able find affordable flights out of Orlando (about 2 hours from where we live). We were finally on our way to making our snow dreams come true!
Except for one minor detail: apparently there isn’t a whole lot of snow in Colorado Springs. And when it does snow, it doesn’t stick to the ground. To add insult to injury, the weather was unseasonably warm during our trip to Colorado. For real. Some days it got up into the 70s.
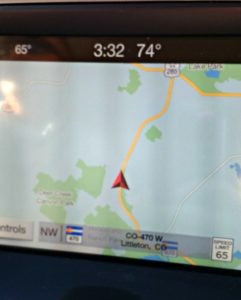
Suffice to say, we didn’t arrive in a winter wonderland. As Floridians, this was not as obvious to us as you might think. Fortunately with a few minor tweaks to our itinerary, we were able to find snow – lots and lots of it.
Tip #2: Don’t Spend a Fortune on Snow Gear
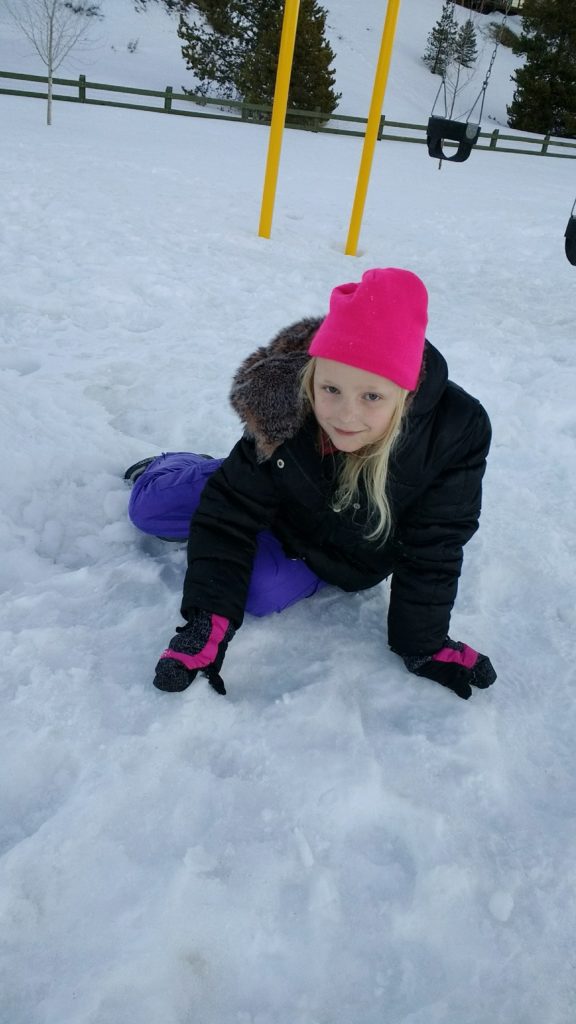
Snow looks soft and fluffy in the movies, doesn’t it? Newsflash for our Florida friends: it’s not. Snow is water. If you play in the snow, you’re going to get wet. You’re also going to get cold.
At a minimum, you’re going to want waterproof boots and snow pants to keep from getting cold and wet. Insulated waterproof gloves are nice if you plan to make a snowball or snowman. And you’ll need a good jacket (although we didn’t need ours nearly as much as we’d anticipated).
If you’re a Floridian, you probably don’t have any of this stuff. Purchasing it new is going to set you back a couple of hundred dollars for a family or four, maybe more if you’re like my wife and jump at any chance to buy a ridiculously expensive new pair of boots.
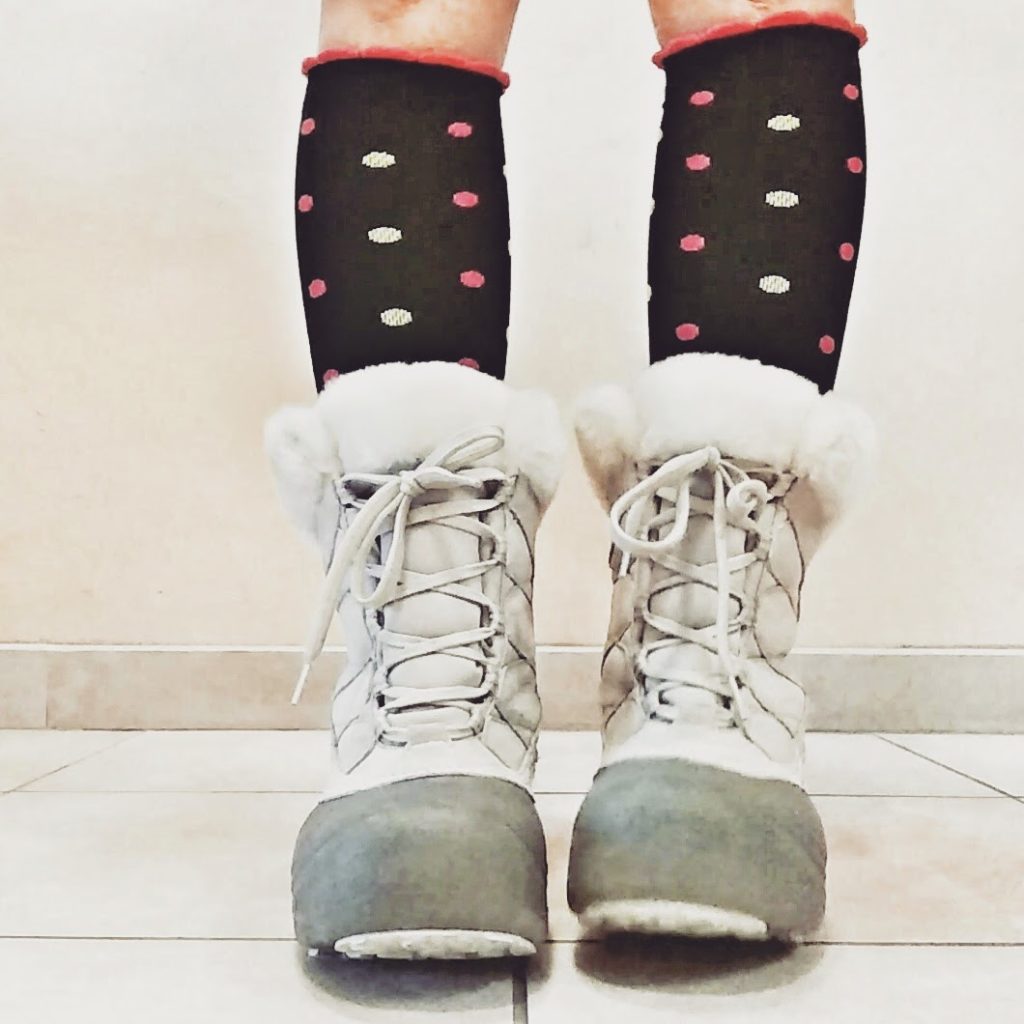
We tried a few thrift stores at home but didn’t have any luck. Same thing when we tried to borrow winter gear from friends. Most Floridians simply don’t have this stuff lying around the house.
We decided to swing by some thrift stores once we got to Colorado. Whatever we couldn’t find there, we’d buy new or borrow from Sharon’s friend. To our surprise, we found a wide selection of good quality, gently used snow boots, pants, and gloves. The children’s items looked practically new which makes sense because kids outgrow their clothes quickly. Between what we were able to scrounge up at home, borrow from friends, and purchase secondhand, we spent less than $50 on our snow gear. We weren’t super stylish, but we were warm.
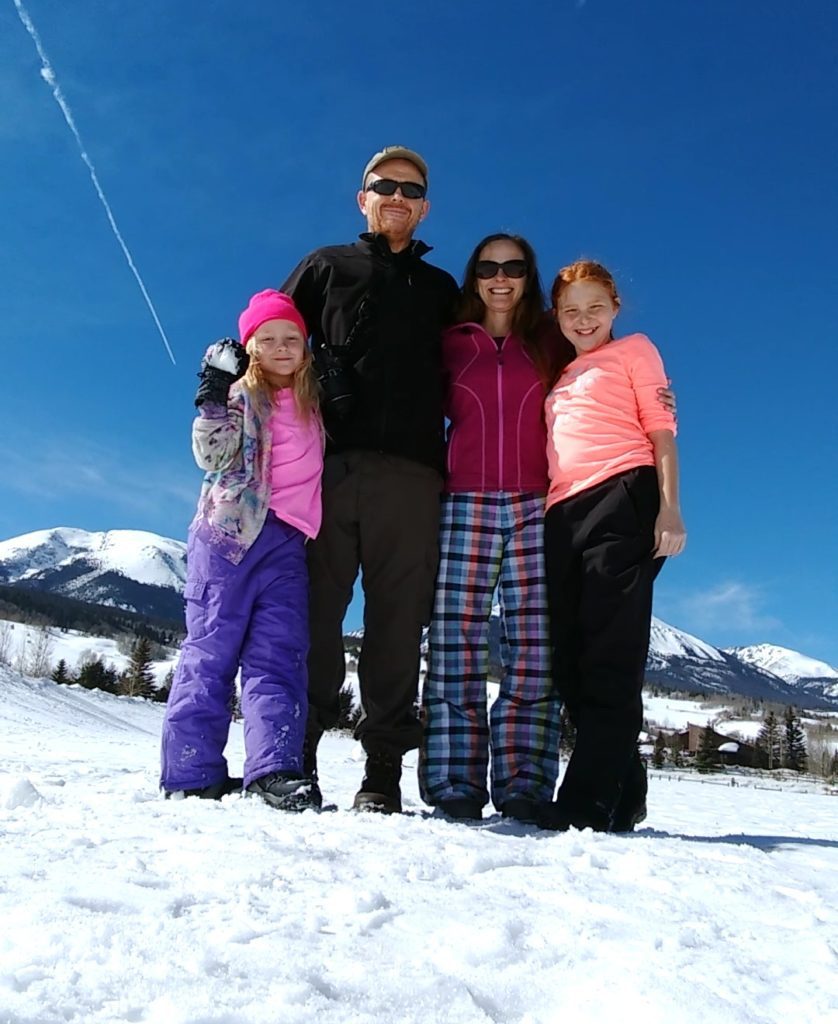
Of course, we took a bit of a risk by showing up for a snow vacation with almost no snow gear. But we figured that the worst that could happen was that we’d have to go to REI and pay full price for a bunch of winter stuff – which we would’ve had to do if we’d bought it all at home anyway.
If you plan on getting your winter things at thrift stores when you get to your destination, make sure that you factor the shopping time into your itinerary – remember that it might take more than one stop to find everything you need (it took us two). Plan ahead by researching the good thrift stores near your destination.
The best part is that at the end of your vacation, you can donate all of your secondhand winter gear back to a thrift shop or charitable organization. If you brought it from home, you may even end up returning home with lighter luggage than when you started.
Tip #3: Bring Your Own Sleds
When we imagined playing in the snow with our kids, it was like something out of a movie. We’d frolic and make snow angels and throw snowballs and frolic some more. (Always lots of frolicking.)
But in reality, it wasn’t quite that simple. (Is it ever?)
Sure, we frolicked and made snow angels and threw snowballs. But that took up about 10 minutes. Then they asked, “now what?”
Now what, indeed.
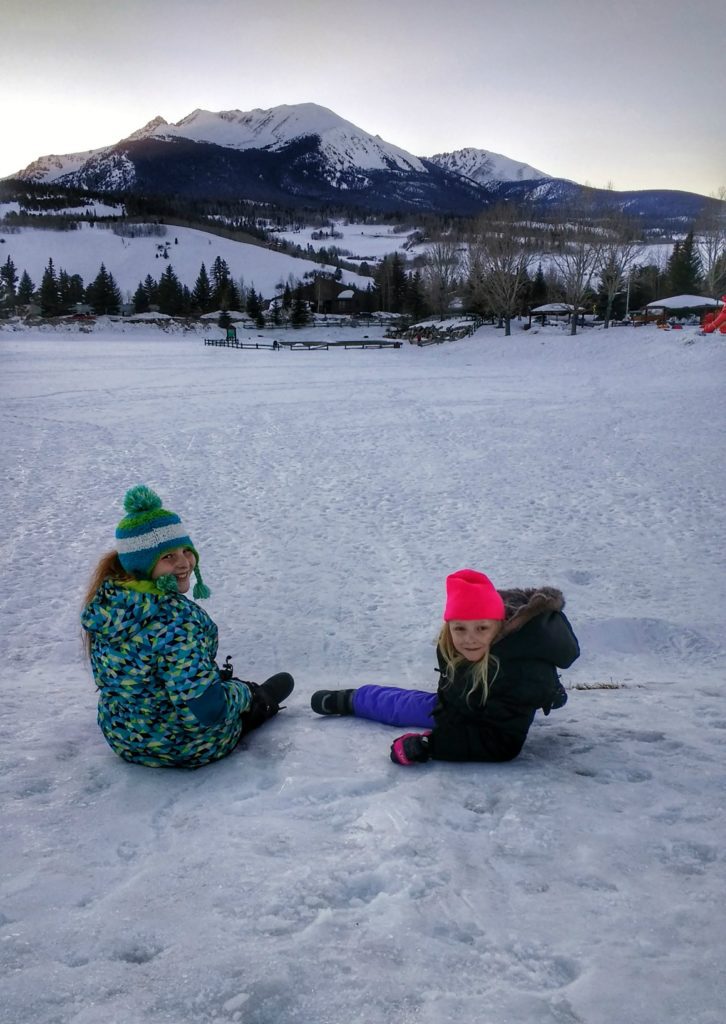
After realizing that the snow trip of our dreams wasn’t going to happen in Colorado Springs, we decided to make a detour and head further up into the mountains. We were almost guaranteed to find snow in ski resort towns like Vail and Breckenridge. But the problem was, we were trying to do this on the cheap. Because if could’ve afforded a ski resort, we would’ve gone there in the first place.
Sharon read about a place called Rainbow Park in Silverthorne – a public park with lots of free sledding areas, a playground, and an adjoining community center. “Free” was perfect for our budget, so this is where we planned to spend our first snow day. Since it was about a 2½ hour drive from Colorado Springs, we decided to relocate closer to Silverthorne for a couple of days. Unfortunately, with this last minute change in plans, the closest hotel we could find within our budget was in Highlands Ranch (near Denver). This still put us 1½ hours away from Rainbow Park, but it was better than the alternative.
When we arrived in Silverthorne, our first stop was the rec center. It turned out to be much like our local YMCA, with a fitness center, an indoor track, a gymnasium, and a childcare center. (It also had a big indoor aquatic center with water slides, which the girls stared at longingly. I found this baffling, considering we traveled hundreds of miles to be in the snow and we live 15 minutes from the beach & pool back home.)
I was also baffled and disappointed that they did not have sleds for purchase or rent at the community center. I just assumed that we’d be able to borrow, rent, or purchase them. We made the best of it – we made our snow angels and snowballs and even attempted to build a tiny snowman.
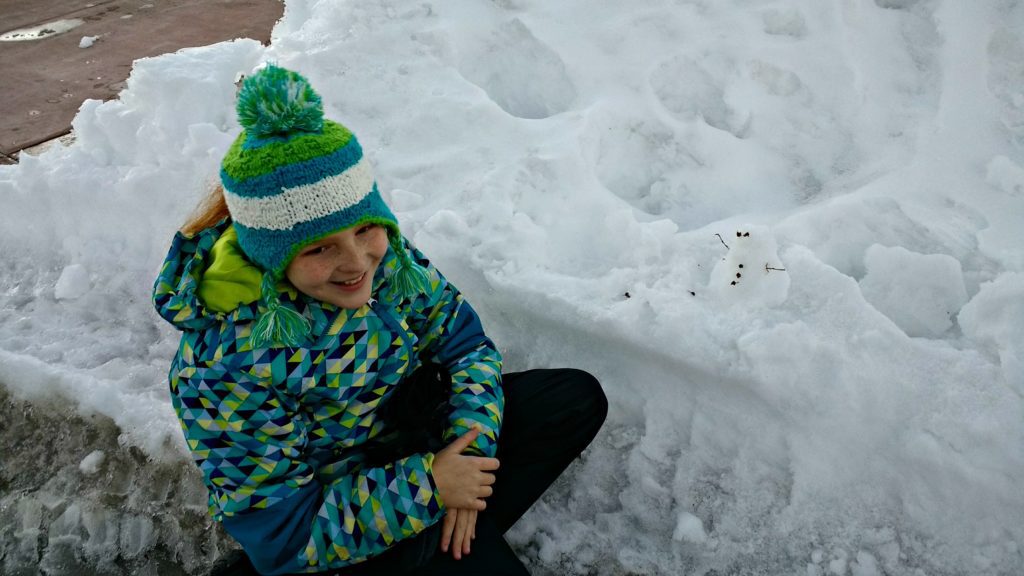
We also practiced just walking in the snow, which was deep and slippery in spots, and was trickier than we’d expected. When we started to get bored, we attempted to body sled. I found a piece of old plywood lying around and tried to slide on it, which gave everyone a good laugh. On our way out of town we ate at a local pizza place (Last Chance Pizza). It was the perfect way to end the day – highly recommended. All in all we had a very good time that first afternoon in Rainbow Park, but we were determined to come back the next day with some sleds.
But that wasn’t as easy as you might think.
We’d forgotten to ask Sharon’s friend to borrow sleds before relocating to Highlands Ranch. But we assumed that finding a sled in Colorado would be easy – similar to renting or buying a kayak or a paddleboard near any beach in Florida. We thought for sure we’d find big displays of them in Walmart, but we couldn’t have been more wrong. Walmart did not have one single sled, or any other snow equipment for that matter. (I did happen to find an inflatable snow sled in Walmart when we were back in Jacksonville, go figure.)
By a stroke of luck, we found some cheap plastic sleds on clearance at Target. (I’m starting to like Target as much as Sharon now…).
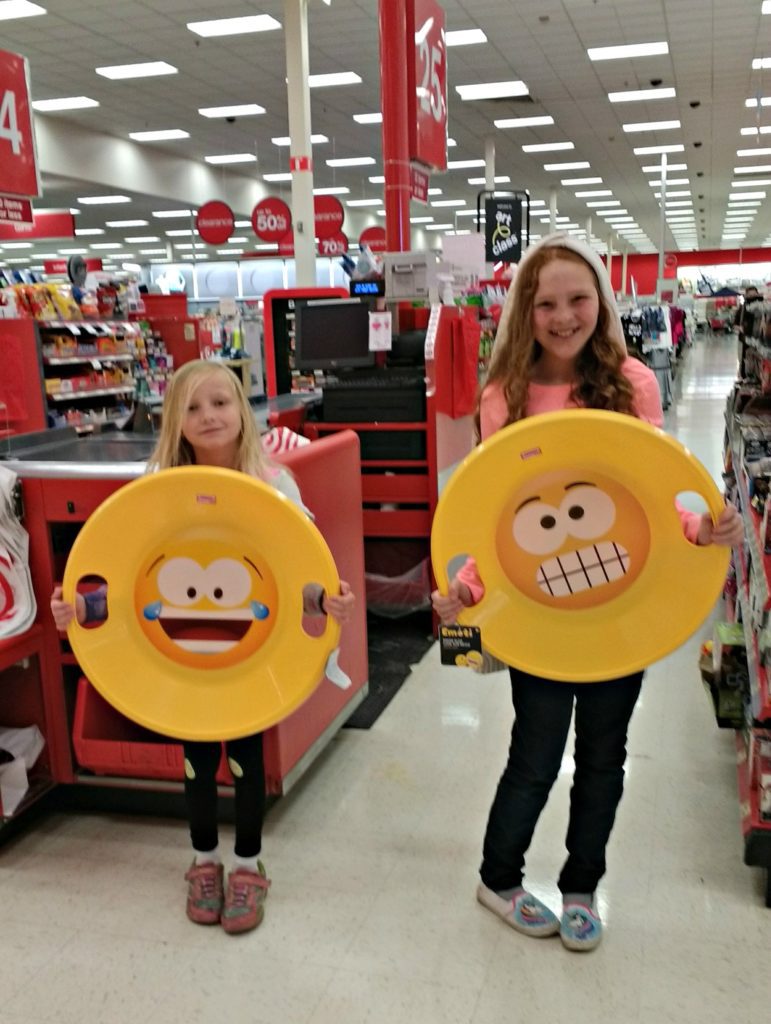
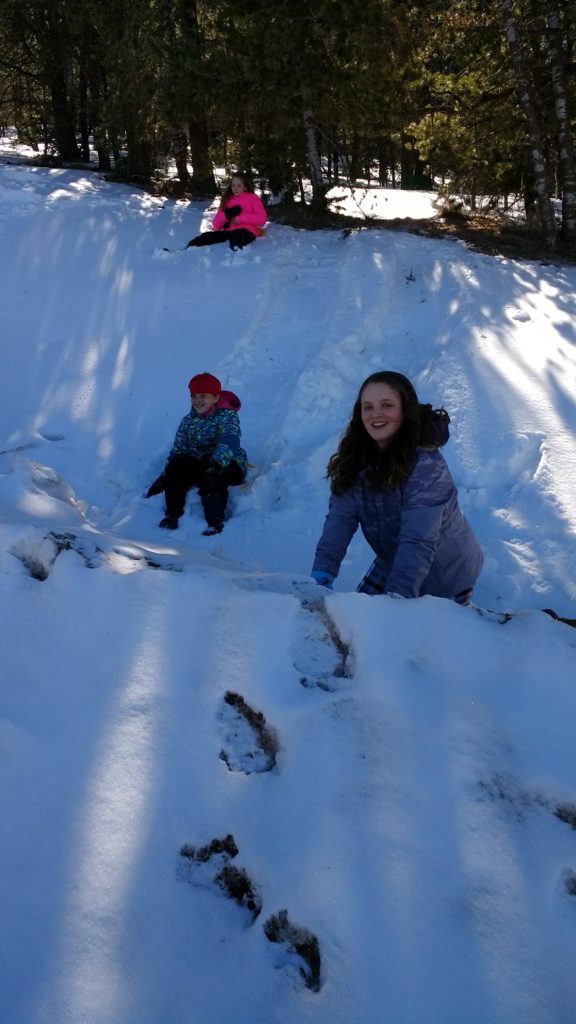
After the drive back to Silverthorne, we spent the morning at Rainbow Park using our emoji disk sleds. They were pretty flimsy and you had no control over your direction, but they worked better than our butts and scrap construction wood. We had an absolutely fantastic time. Even Sharon got in on the fun.
Tip #4: Snow Tubing Is Awesome!
We were ready for a change of scenery, so we headed a few miles down the road to Frisco Adventure Park. We’d read online that it had a comfy lodge, a free (if somewhat treacherous) sledding area, and snow tubing (not free) with a lift.
Frisco park has a nice, cozy lodge with a decent selection of snacks. The sledding area is open to the public, and Sophia and I made a few sled runs on the smaller hills with no problems but not much speed – it was pretty boring.
We wanted more action, so we climbed up to a higher part of the hill. I went down first – good thing, because the snow was packed and iced over, and there were bumps on the bottom of the hill. From this higher spot, I got way more speed than before and caught at least a foot of air on a bump! I landed on the hard ice, hit my knuckles, and cut them open. I guess I should have paid closer attention to the signs advising you to “sled at your own risk.” If we’d had better sleds, I probably wouldn’t have cut my hands and the worse I ‘d have suffered would’ve been a bruised butt. Our “sleds” were nothing more than large plastic plates with cutouts as handles. My butt barely fit on the disk and the girls weren’t much better.
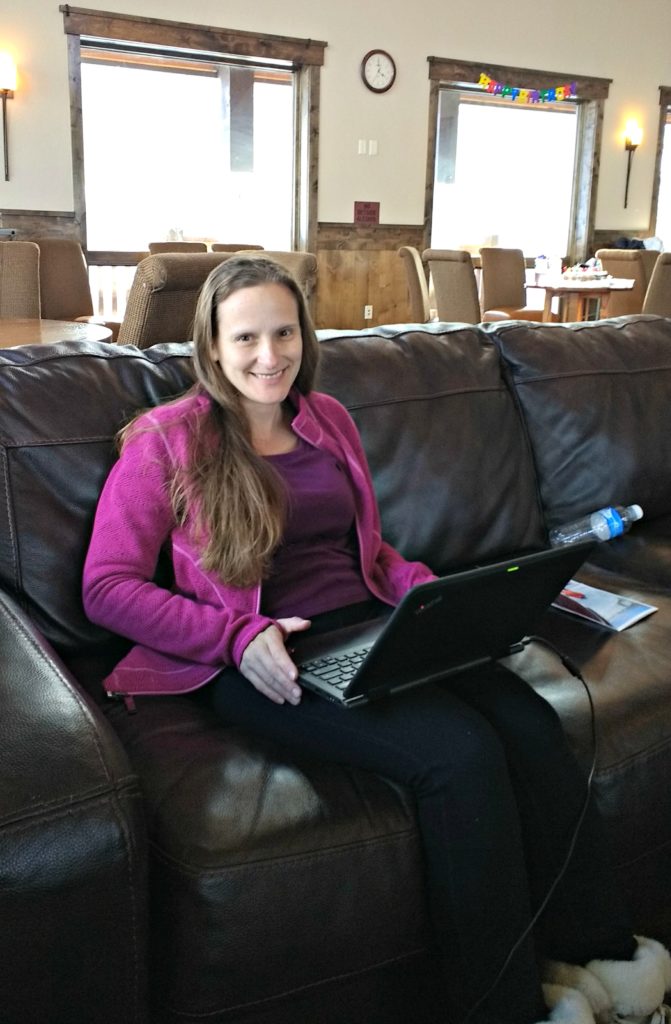
After our sledding (mis)adventure, we were ready to go tubing. Snow tubing was a bit expensive – it cost a little over $100 for three of us to snow tube for two hours. You may be able to cut down on the cost by making your reservations in advance. Still, when compared to the cost of skiing lessons and the required rental equipment, this was an absolute bargain (or so I told myself). Sharon thought it was best to sit out tubing due to her back condition and spent the time relaxing & staying warm in the lodge. Except for the tweens flipping water bottles (UGH!!!), she had a good time people watching. Observing other families and their vacation drama always helps to reinforce that we ARE NOT ALONE in the melt down departments.
Tubing was fantastic! Sophia and Amelia raced each other and we went down in groups of two and three. The lift took most of the effort out of the ascent; however, after two hours we were all exhausted. We were probably starting to get hypoxia. I marched Sophia and Amelia up the slopes 2-3 more times than they probably wanted, but I wanted to get every dollar’s worth out of our tubing passes.
Tip #5: Be Prepared for Altitude Sickness
Once we’d had our fill of snow play, we headed back to Colorado Springs. On our drive back, we visited Pikes Peak, which was one of the highlights of the trip for me. At 14,115 feet above sea level, Pikes Peak is simply magical. The views are stunning, and it’s easy to see why it’s the most visited mountain in North America. Also, if you’re in Colorado Springs, this is the closest place that you can expect to find snow.
There are two ways to reach the summit of Pikes Peak – via cog railway departing from Manitou Springs, or via “toll” road. We decided to take the toll road so that we would have control over our pace and be able to stop at our leisure to explore. The road to the summit is not always open to vehicular traffic; however, there is a phone number to call in advance to know if you’re going to be able to get to the top.
The Frozen Lake
About a quarter of the way to the summit, you’ll find the Crystal Reservoir Visitors Center. The lake nearby was frozen (another first for us).
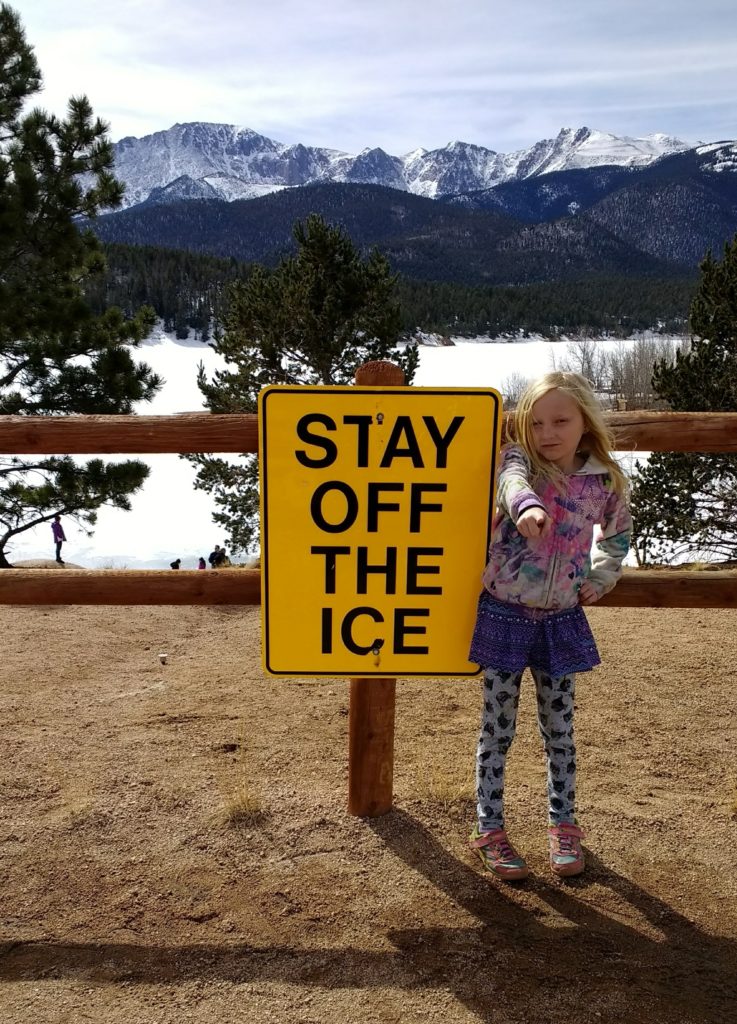
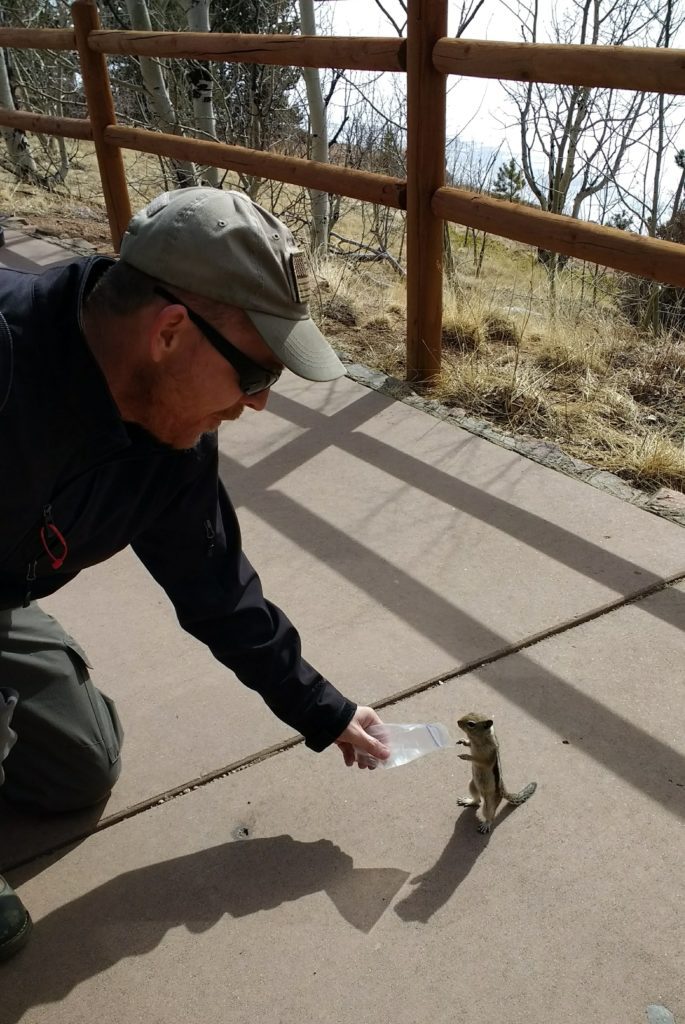
The Visitors Center was closed during our trip but from what we could tell, it looked like a typical souvenir shop. It also looked like you could rent kayaks or canoes during the warmer seasons. We found restrooms located near a wooden sasquatch. We didn’t see a real live Bigfoot, but we did encounter an aggressive squirrel looking for a handout.
The Halfway Point
About halfway to the summit is the Glenn Cove building with a small cafe and restrooms. The menu didn’t look too appealing, so I’d recommend packing a lunch. There are picnic tables outside that are usable if they’re not covered in snow. There is a restroom, but there’s only one here, so expect a line. Overall this was a very cozy location and offers a respite from the frigid breeze.
At this point during the ascent, the temperature had noticeably dropped and was cold enough for this Floridian to appreciate. There was lots of snow here. In fact, we returned to this spot with Sharon’s friends a few days later and did some sledding.
The Summit
At the summit of Pikes Peak, there’s a magnificent view of Colorado Springs to the east and a mountain range to the west. This place isn’t like a theme park, with guardrails and watchful attendants. You have free access to lots of places where one misstep can result in plummeting to serious injury or death. This is what makes it adventurous!
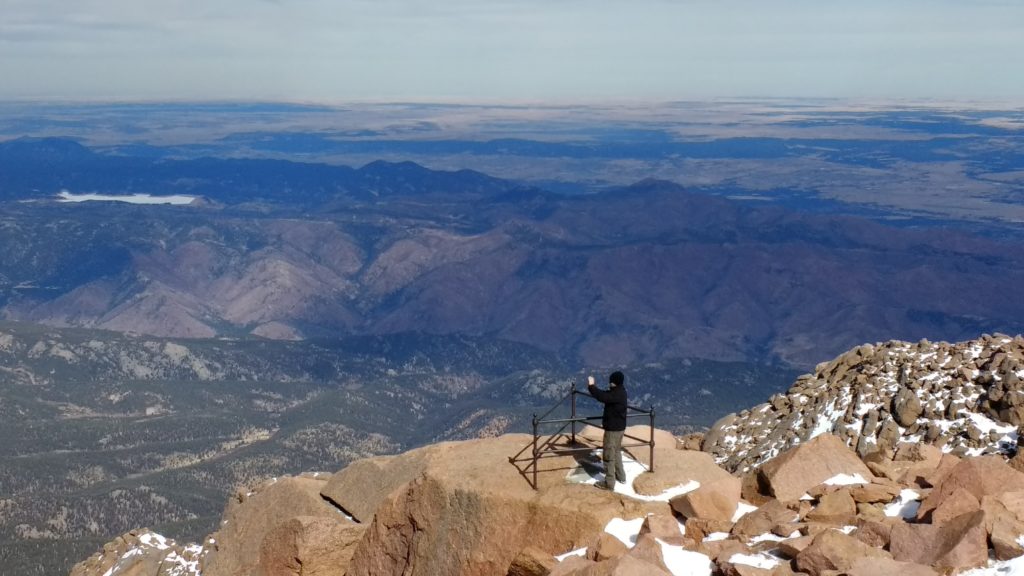
There’s also a gift shop with souvenirs and a cafe with their famous fluffy donuts.
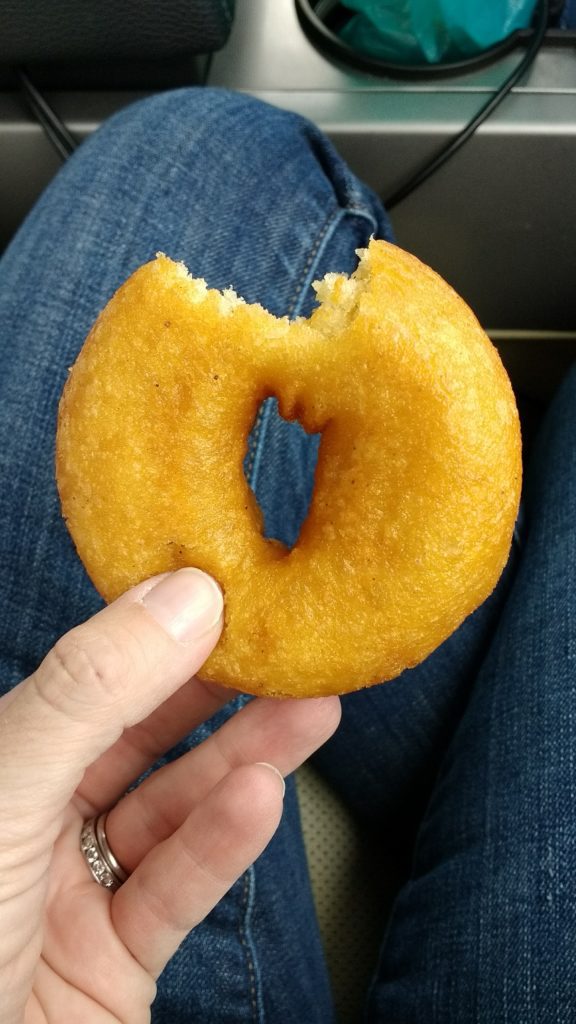
By the time we got to the top, Sophia and Amelia both had headaches and were too altitude sick to enjoy the view or the donuts. The altitude sickness shouldn’t have caught us by surprise, but it did.
Altitude sickness is a group of symptoms that can strike if you walk or climb to a higher elevation, or altitude, too quickly. The pressure of the air that surrounds you is called barometric pressure. When you go to higher altitudes, this pressure drops and there is less oxygen available. If you live in a place that’s located at a moderately high altitude, you get used to the air pressure. But if you travel to a place at a higher altitude than you’re used to, your body will need time to adjust to the change in pressure. Any time you go above 8,000 feet, you can be at risk for altitude sickness.
The summit of Pikes Peak is over 14,000 feet, nearly three miles above sea level. The elevation in our hometown is less than 10 feet above sea level, so some degree of altitude sickness was inevitable. The most common symptoms of “Acute Mountain Sickness” are headache, dizziness, nausea, and muscle aches. I experienced a noticeable lethargy from the lack of oxygen; simple exertion became much more difficult. For me, the experience was similar to how I feel after donating blood.
There are some things that you can do to help prevent altitude sickness. The #1 recommendation is to let your body slowly adjust to the decreased levels of oxygen in high-altitude locations. (source)
- Ascend gradually. It can take several days for your body to adjust to decreased oxygen, so it’s best to plan your trip so that you gradually reach higher altitudes over the course of a few days. A good rule of thumb is to avoid ascending more than 1,000 feet a day. If you are traveling to very high altitudes, stop at 8,000 to 9,000 feet for a few days before moving on to allow your body to adjust. We actually did this to some extent (albeit unintentionally) by gradually increasing our elevation: Highlands Ranch (6,000 feet) → Silverthorne (9,000 feet) → Pike’s Peak (14,000 feet).
- Sleep low. The oxygen in your blood is at its lowest when you’re sleeping. It’s best to visit higher altitudes during the day and return to lower altitudes for sleeping. We did this as well (also unintentionally), by spending our days up in the mountains and then sleeping in hotels at significantly lower elevations.
- Stay hydrated. Drink 3-4 quarts of water every day.
- Avoid alcohol and tobacco. You should also skip anything more than mild exercise for at least the first couple of days.
- Talk to your doctor. A medication called Acetazolamide (Diamox) can be helpful in preventing altitude sickness. It is only available by prescription, so talk to your doctor about whether this option may work for you. Ibuprofen may also help as a preventative measure.
If you do start to experience altitude sickness, the best treatment is to immediately move to a lower altitude. Go down 1,500 to 2,000 feet at a time, until your symptoms disappear. (source) Rest, drink water, and take OTC medications to relieve your head & muscle aches. If your symptoms don’t improve or seem severe, contact a doctor.
Tip #6: See More Than Snow
Yeah, I know this is all about the snow. But leave some flexibility in your plans – you may be pleasantly surprised by what else your vacation spot has to offer. For example, just outside Colorado Springs, we came across a quaint little mountain town called Manitou Springs. This National Historic District is a “charming hippie-era haven filled with art galleries, funky boutiques, and outdoor cafes” (source). Sharon’s friend introduced us to a “penny” arcade that was lots of fun – so much fun, in fact, that we made a return visit.
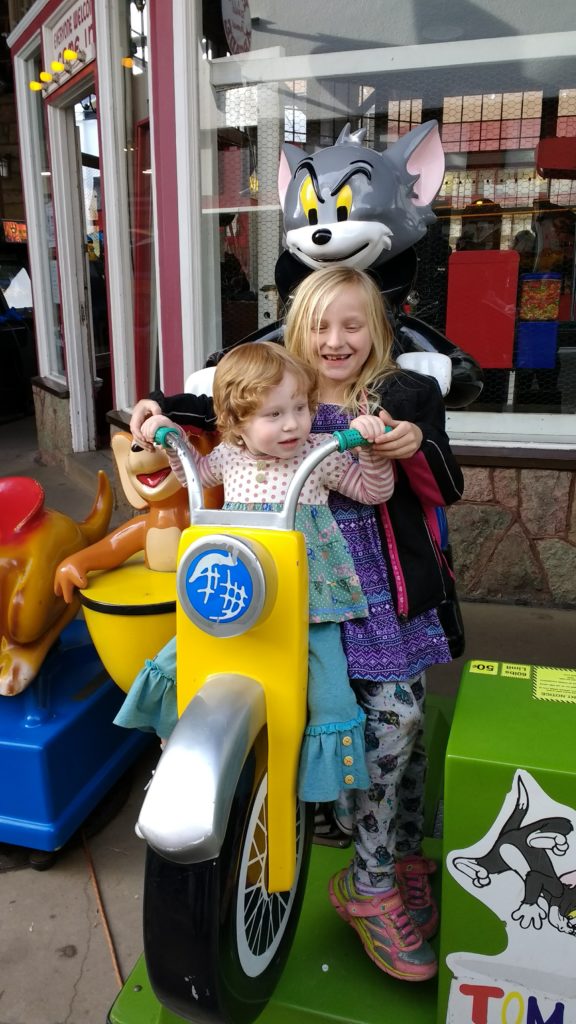
This, along with Amy’s Donuts, was probably the highlight of the trip for Sophia and Amelia. And you don’t want to miss the Garden of the Gods. (You can read more about our time at Garden of the Gods HERE.)
Mission Snow: SUCCESS!
Aside from a few minor snafus and the usual meltdowns, our first family snow adventure was a success. We braved the cold weather and the altitude change, and we adapted pretty well to last minute changes in plans. We had lots of “firsts” and made lifetime memories. And now with this first experience under our belt, we feel ready to plan a more adventurous trip in the snow. I don’t know when or what our next winter adventure will be, but ski and/or snowboard lessons for the family are definitely on our bucket list.
